Most hydrangeas will thrive in fertile, well-draining soils that receive plenty of moisture. Add compost to enrich poor soil.
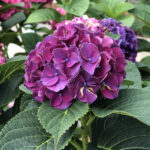
In general, hydrangeas prefer partial sun. Ideally, they will get full sun in the morning, followed by some afternoon shade to protect from the hot midday sun. This is especially true of large-leaved hydrangea (H. macrophylla), whose large leaves are prone to wilting. Some varieties are more tolerant of full sun.
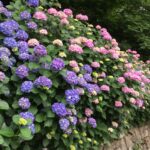
Space hydrangeas anywhere from 3 to 10 feet apart, depending on the type. Always place plants based on their expected size at maturity!
When to plant hydrangeas
Fall is the best time to plant hydrangeas, followed by spring planting. The idea is to give this shrub plenty of time to establish a healthy root system before the heat of summer or the extreme cold of winter, making the colder shoulder seasons the best times to plant.
Plant the bushes in the early morning or late afternoon. It is generally cooler and the plant is less likely to suffer heat stress from direct sunlight.
How to plant hydrangeas
Carefully remove the hydrangea from its container and inspect the root ball, cutting off any dead or rotting parts and teasing the roots if the plant is particularly root bound.
Dig a hole as deep as the root ball and 2 to 3 times as wide. The base of the plant (where the stem meets the soil) should be level with the top of the planting hole.
Set the plant in the hole and fill it halfway with soil. Water generously. After the water has been absorbed, fill the rest of the hole with soil.
Water thoroughly once more.
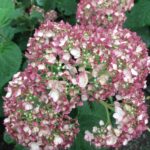
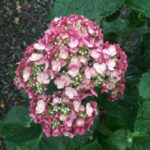
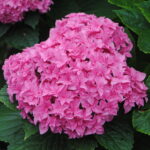
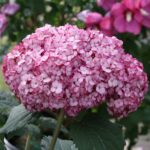
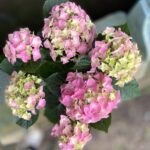
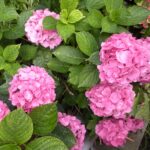
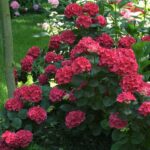
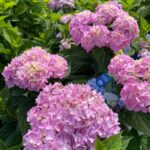
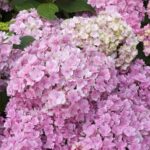
Pink hydrangea flowers
Hydrangeas can be easily grown from cuttings. They root easily and the process provides a good lesson in propagation. How to use:
On a well-established hydrangea, find a branch that is newly grown and has not bloomed. New growth will look lighter than old growth, and the stem will not be as stiff.
From the tip of the branch, move 4 to 5 inches down and make a horizontal cut. Make sure there are at least 3 to 4 pairs of leaves on your cutting.
Remove the lowest pair of leaves from the cutting, trimming them flush with the stem. Roots grow more easily from these leaf nodes, so if you can afford to remove more than one pair of leaves, do so. Make sure to have at least 2 pairs of leaves at the tip end of the cutting.
If the remaining leaves are quite large, cut them in half and remove the tip half. This prevents the leaves from hitting the sides of the plastic bag that you will put over the cutting later (to keep the humidity up).
(Optional) Dust the leafless portion of the stem with rooting hormone and a plant fungicide powder (both available at a local hardware or garden store). This will encourage root formation and prevent rotting.
Prepare a small pot and fill it with moistened potting mix. Plant the cutting in the soil, lowering it to the first pair of remaining leaves. Water lightly to remove any air gaps around the stem.
Cover the entire pot loosely with a plastic bag. Make sure the bag does not touch the cutting’s leaves, otherwise the leaves may rot. (Chopsticks or similar can be used to prop up the bag and keep it away from the leaves.)
Place the pot in a warm area protected from direct sunlight and wind.
Check your cutting every few days to make sure it isn’t rotting and only water again when the top layer of soil is dry. With luck, the cutting should root in a few weeks! (Check by gently pulling on the cutting; if you feel resistance, roots have formed.)